


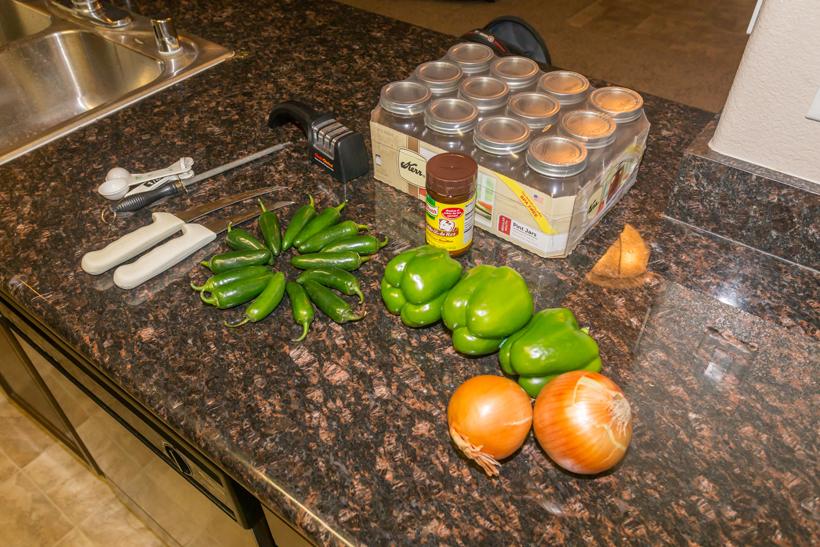
1/2 |
Jalapeno |
1/4 |
Yellow or white onion |
1 tsp |
Ground beef bouillon |
1/4 |
Green bell pepper |
1/2 | Jalapeno |
1/4 | Yellow or white onion |
1 tsp | Ground beef bouillon |
1/4 | Green bell pepper |
I started bottling venison 4 years ago and like many hunters, I try to fill my freezer every year. My kids love elk and fish, but for some reason they just have a hard time with venison. I tried cooking it many different ways, but the end result was always the same until a friend suggested that I try bottling my venison. I had never done this and to be honest I could not imagine it tasting that great. I’ve seen bottled venison in the past, and it looked a little like a science experiment in a mason jar.
After some thought, I made the decision to bottle half of my deer for the 2010 season. I found a decent recipe, purchased a pressure cooker and some canning jars. The first time bottling meat was a little stressful, since I had no experience with a pressure cooker, but even with my little experience I was able to bottle the venison with no problems. This turned out tasting so good that I ended up bottling the entire deer, and my kids even love it and so do I.
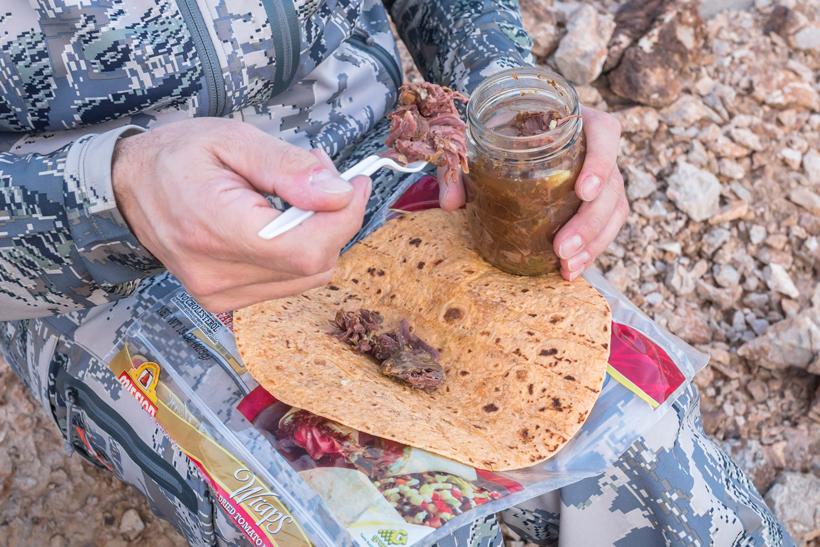
In the first year of bottling the venison, we finished all the bottled meat and have been doing it every year since. At my house, we eat the bottled venison on sandwiches and with eggs in the morning. The mason jars easily fit in a cooler, and are great to take on hunting or scouting trips.
Keep in mind that there are a number of different recipes and ways to bottle venison. The recipe below is what we like at the Smith house.
*If new to pressure cooking, make sure to read the instructions*Additional ingredients can be added to recipe *Do not add water to the bottles*Pressure cooking times vary, depending on elevation*Tight seal on jars is necessary
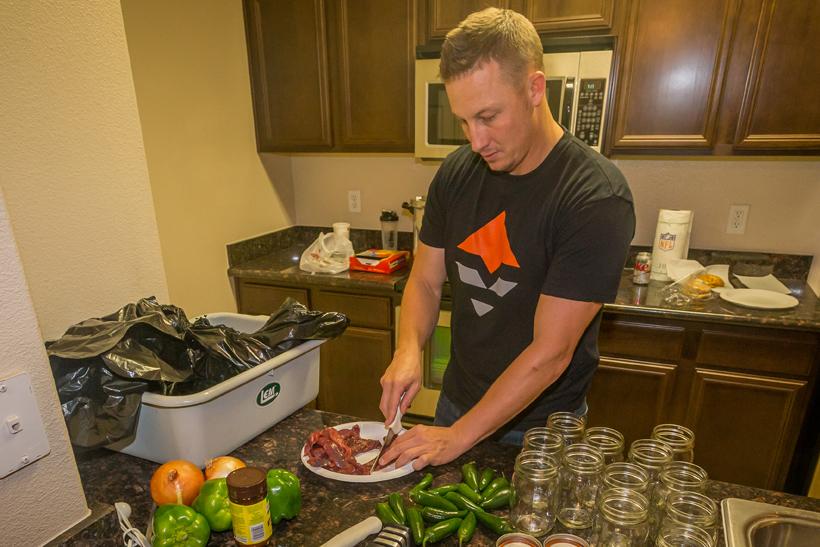
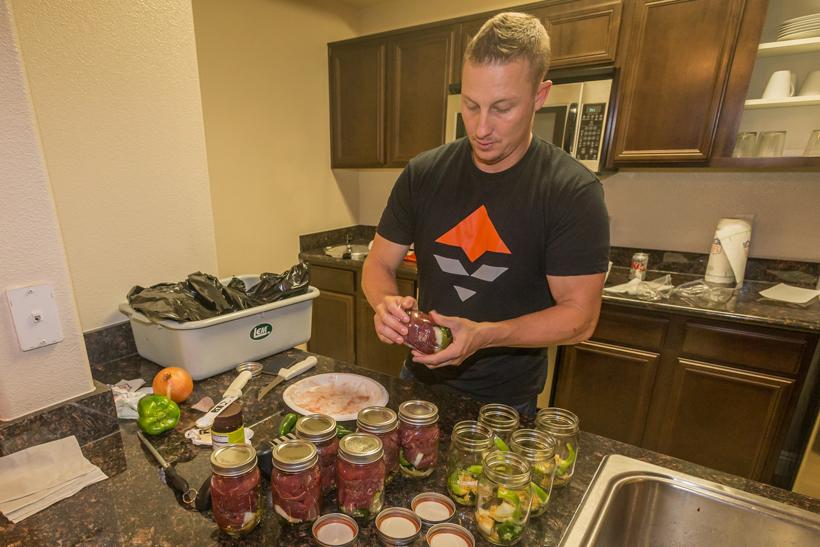
Step 1. Cut venison into narrow thin strips about 4 inches long and a ¼-inch thick. Be sure to trim the fat and tendons from the meat. (I cut it this way so that the meat fits nicely on a sandwich).
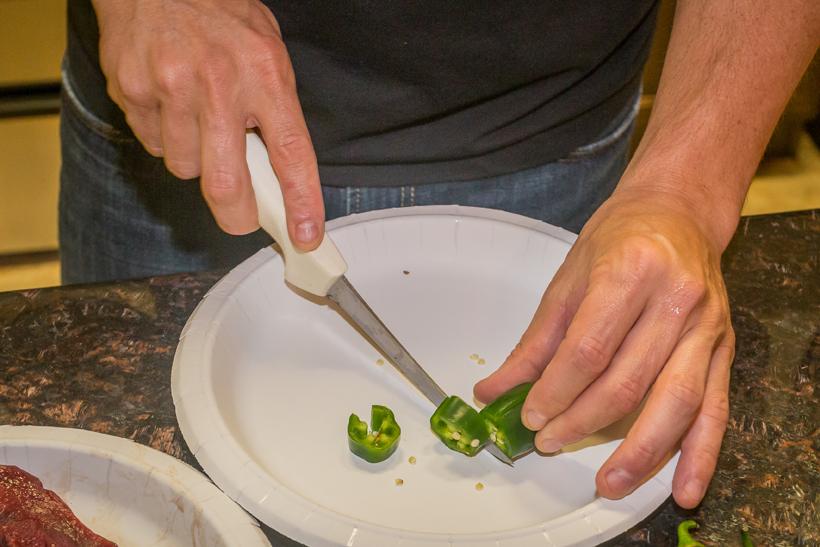
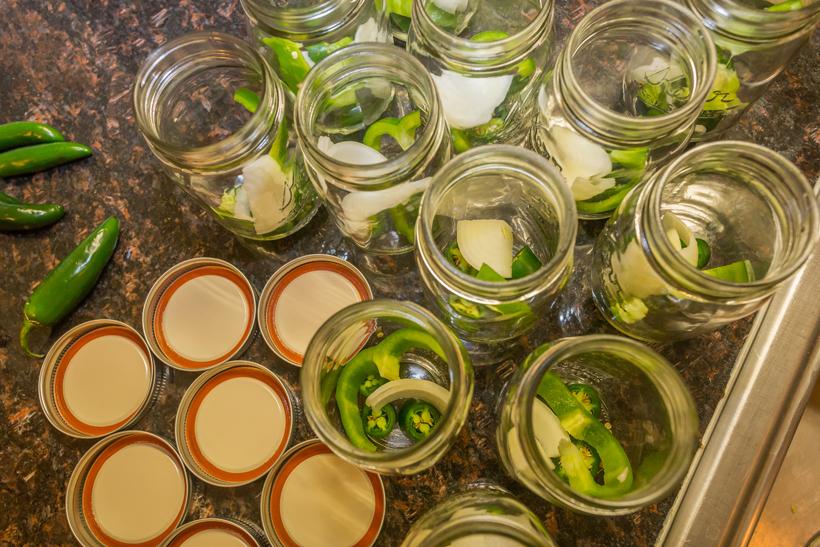
Step 2. Slice up peppers and onions. Experiment with the peppers, if you want a spicy batch of venison, I would suggest using some cayenne peppers.
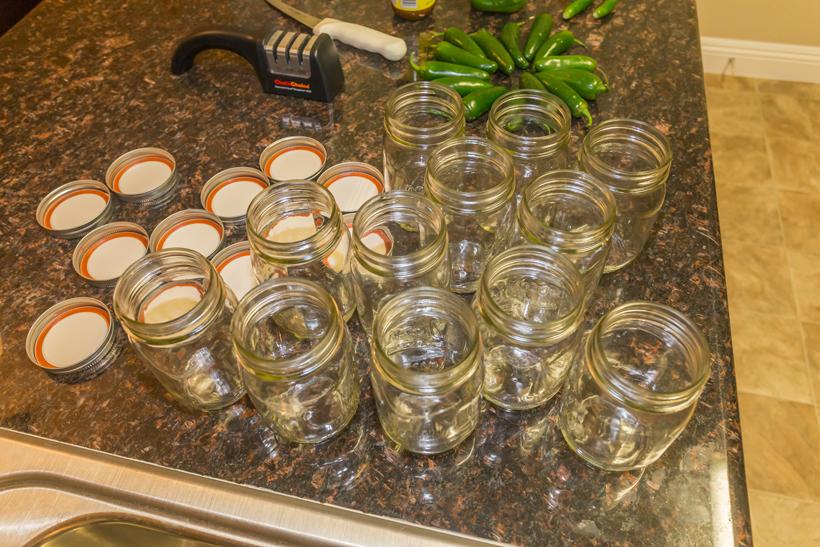
Step 3. Line out your jars so that it is easy to insert the ingredients.
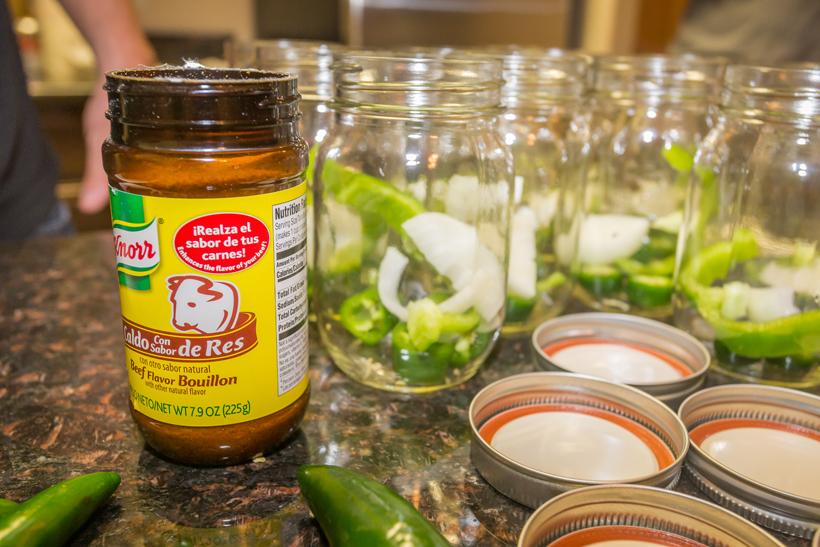
Step 4. Place your peppers, beef bouillon and onion into the jar first.
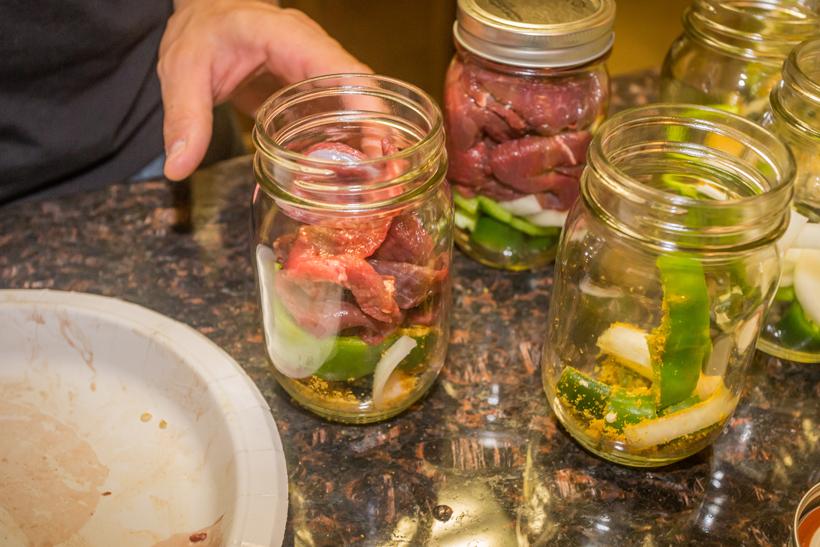
Step 5. Stuff venison into the jars, you will want to try and pack as much meat into the jar as possible while leaving one inch of headspace. (Some people like to brown the meat prior to stuffing it into the jar, I feel this takes some of the taste from the venison).
Step 6. Seal the jars, make sure each jar is sealed tight. Take a paper towel and wipe the top off carefully to remove any material. This will ensure the jars get a proper seal.
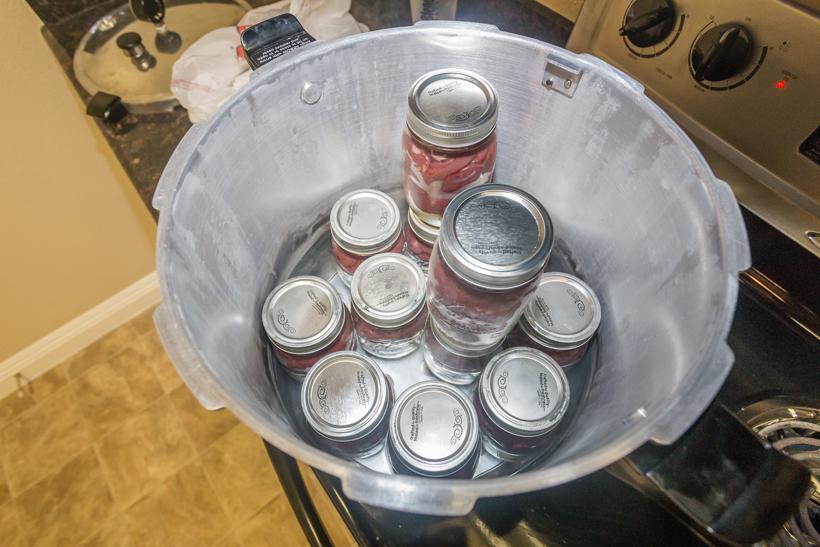
Step 7. Fill your pressure cooker with water to the specified amount for your pressure cooker. I have a 23 QT pressure cooker, and I fill it with three quarts of water. Add 2 tbsp of vinegar to the water. The vinegar will prevent water stains to the jars. Water levels may vary with different pressure cookers, make sure you follow the instructions provided with your pressure cooker. Place the jars on the metal rack at the bottom of the pressure cooker. You may need to stack the jars two layers high.
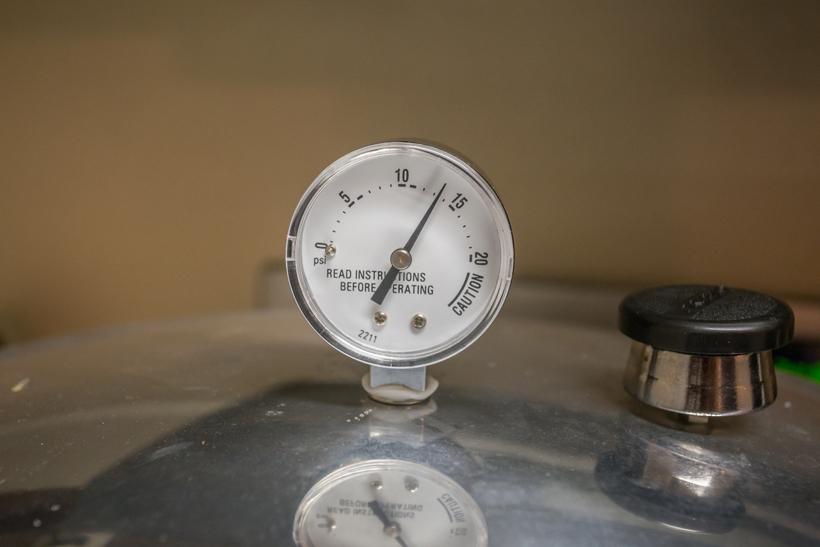
Step 8. I live at 6,000 feet above sea level, and my cook time is 90 minutes at 13 lbs. of pressure.
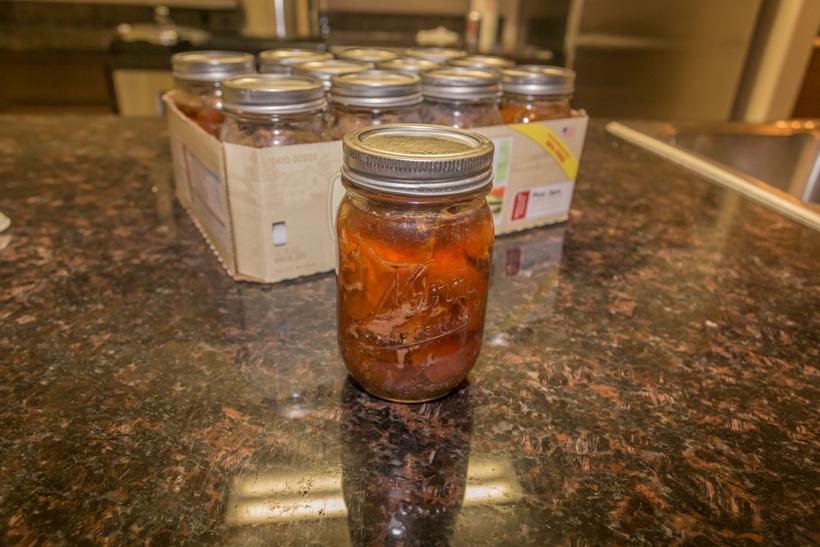
Step 9. Once cooked, let the jars cool by placing them upside down on a flat surface. This allows the jar to cool and helps seal the jar at the same time. The bottled venison is now ready to eat. I store my jars in my pantry. I also like to eat it chilled, so I usually keep one jar in my fridge for sandwiches.