


Rustoleum flat paint |
Extra bow string |
Krylon flat clear coat spray paint |
Allen wrenches |
Painters tape |
SOS pad |
Soap |
Sand paper |
Rustoleum flat paint | Extra bow string |
Krylon flat clear coat spray paint | Allen wrenches |
Painters tape | SOS pad |
Soap | Sand paper |
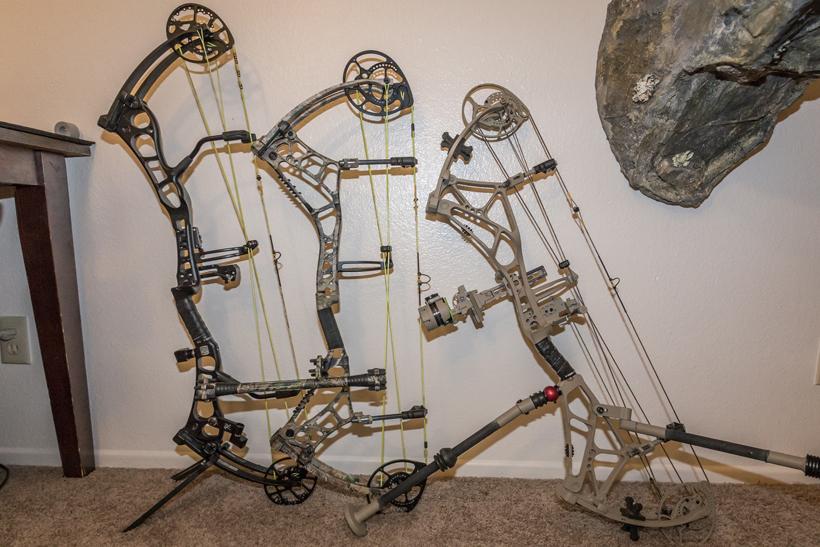
Over the years, I have changed my bowhunting setup multiple times. From new bows, to new sights and rests, then switching from a camouflage riser one year to a black riser the next. I enjoy testing products and bow tuning each season, but of all the bow equipment modifications I have made over the years, I have never attempted to remove glare from my bow by camouflaging it.
The more I have thought about it, the more I have wondered if some of my blown stalks over the years were due to the glare caused by the sun reflecting off the metal parts of my bow and its accessories when I am closing in on an animal. Maybe if I removed the glare with a muted flat camouflage color I would have been able to get closer in my stalk — had just a few more seconds to reach full draw or settle my pin before a buck bounded out of my life forever. All of the extra things we do to improve our chances of success will add up in the end, helping us be more successful.
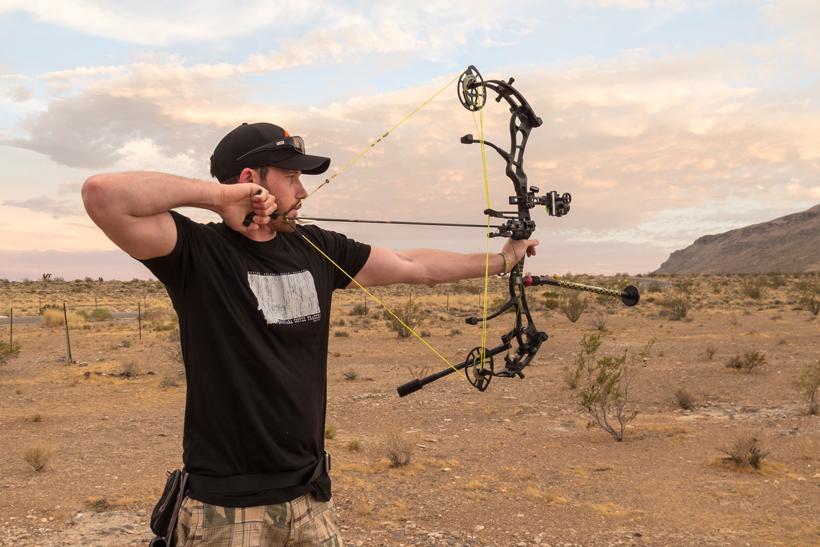
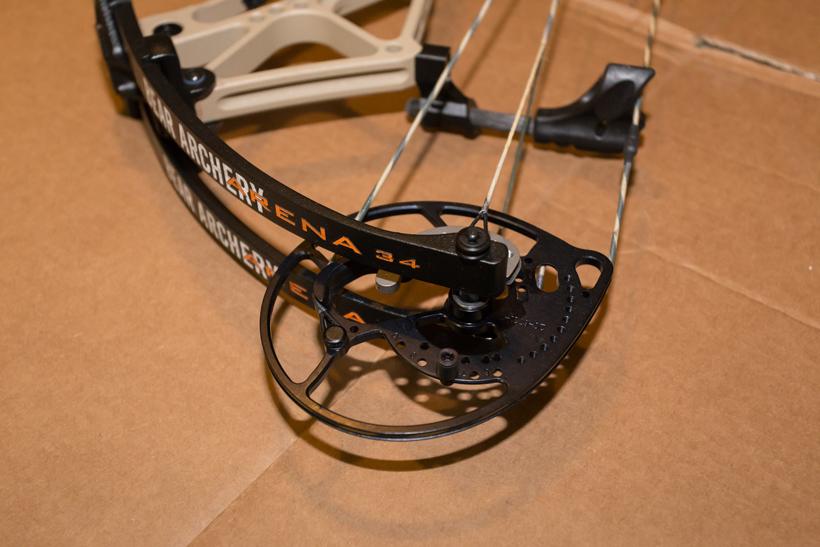
With all the high quality finishes available for your bow nowadays, why apply muted camo to your bow and accessories? The biggest reason is shine or glare. All of the accessories on your bow have a glare to them, even if you choose to have them custom-dipped in camo. Your bow cams, cable guard, limb pockets and all the accessories (sight, rest and quiver) will produce a shine when the sun reflects off of it. Big game animals can see that shine and will likely become spooked when in close range because the shine is unnatural. After spending all of the time and energy to get into position, it is important to minimize any bowhunting frustrations especially since you have worked so hard to get in position for a shot.
While it is an old adage that if an animal can see the bow, it is already too late, there are ways to work around that to increase your hunting odds. Taking the time to camouflage your bow will give you some advantage instead of hoping that you are always in a position that does not show glare.
Camouflage patterns for the most part appeal to the human eye, but they also attempt to conceal the hunter. Human vision uses a full range of colors while ungulate vision uses shades of yellow, blue and gray only. This allows a solid color bow that is not in those color shades to work perfectly for bowhunting. Muted colors are very common with the military. If you take a look at current sniper rifles, binoculars and tripods used by our military you will see a common theme that utilizes muted colors to reduce glare. While the military is using it to stay concealed from humans, the same logic can be applied to ungulates in terms of concealment and glare reduction.
While plenty of animals are taken by hunters using a stock camouflaged film dip or black bows, there are times when a stalk is blown even though the wind is perfect and the animal spooks anyway. Why? Was it a sudden change in wind direction? Did the animal catch your careful movement? Or did it see an unnatural shine coming from your bow?
Think of it this way. You have a mule deer buck lined up in your sight and are drawing back next to some small pinyon juniper trees. Which do you think would stand out and possibly cause this buck to bolt? A black or factory camouflaged bow or a bow that had a muted camouflage color to it? If the human eye can see it, an animal can see it a lot better. For this reason, hunters should lean on the side of caution.
Black bows (matte black included) or custom dipped bows will still have glare as soon as the sun hits them. Dark colored bows are a great choice when hunting out of a ground blind or dark timber. I had a great experience using a black bow last year hunting mule deer. Still, in the back of my mind, I felt slightly odd hunting with one since I felt like my bow was so visible.
Start by applying a 400 grit sandpaper to the cams and metal surfaces of your bow and any other accessory you are painting. This will ensure the paint has something to stick too. Next clean your bow and all the accessories you intent to paint with an SOS pad and soap and water. You want to remove all the dust and oils from the areas you will be painting to ensure that paint will adhere to the surface correctly. Air dry your bow or thoroughly dry with an air hose. Either way it is best to let your bow dry for a few hours.
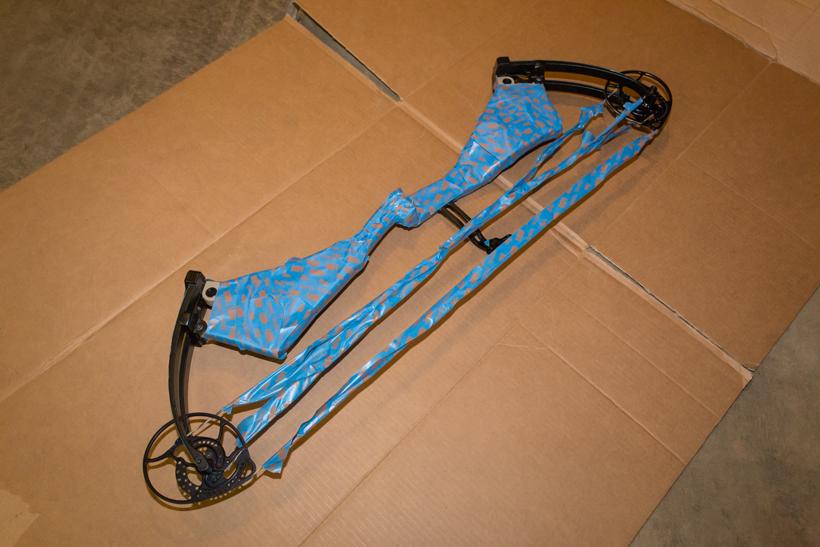
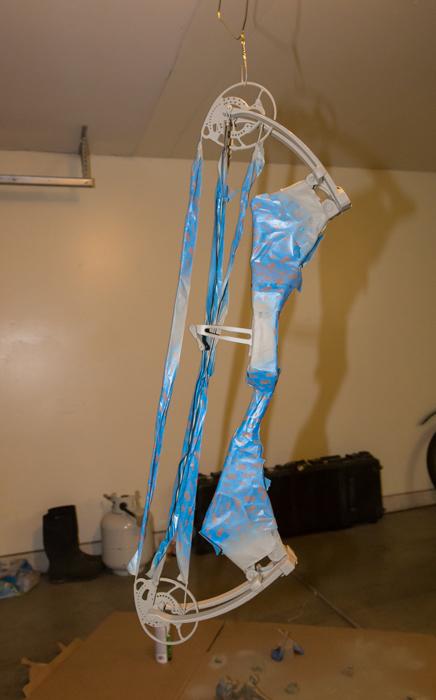
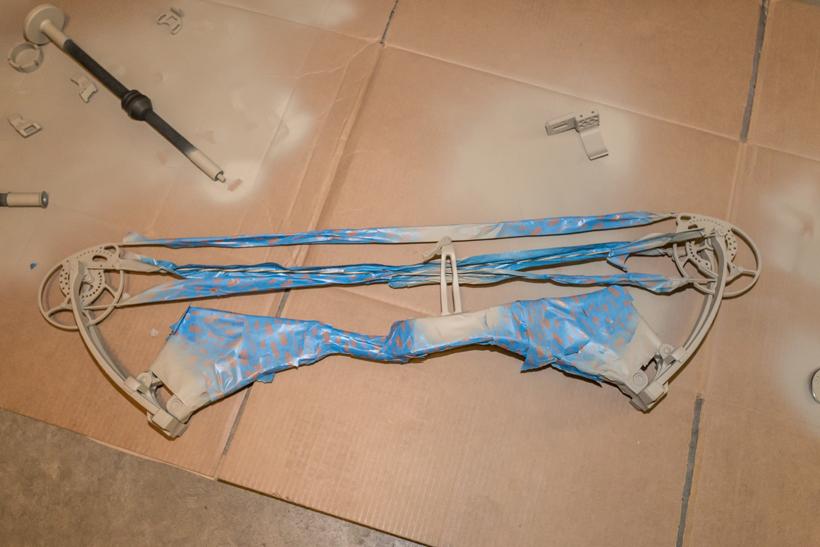
Apply painters tape to all of the areas you wish to avoid painting. While I kept the stock strings on my bow during the painting process because I will be switching them out for custom strings, I still covered the strings with painters tape in order to keep the strings as backups. I also did not want paint to build up in the string tracks of cams because I was worried about inconsistencies in paint build up and how it would affect accuracy. Using the stock string helped prevent excess paint from going in the string tracks.
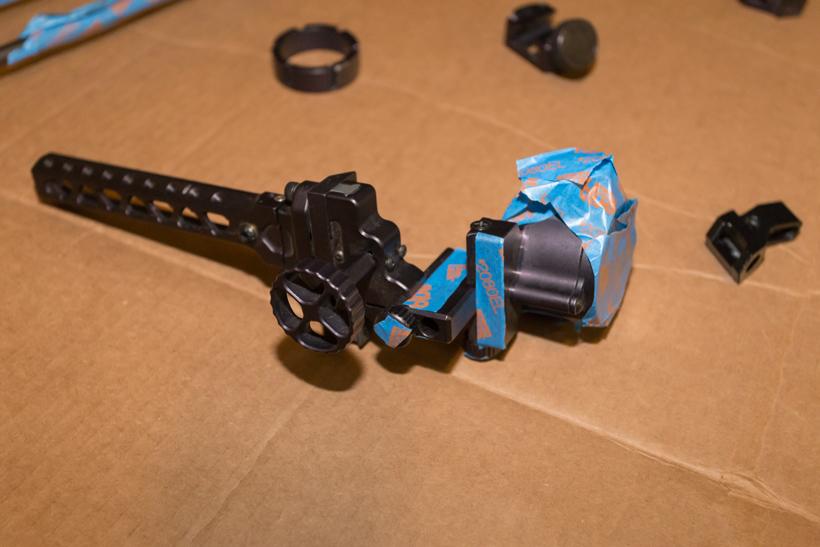
It is also a great idea to apply tape to any area of your sight that you do not want painted. Areas include any fiber optic tubes, pins, or moveable sight rails.
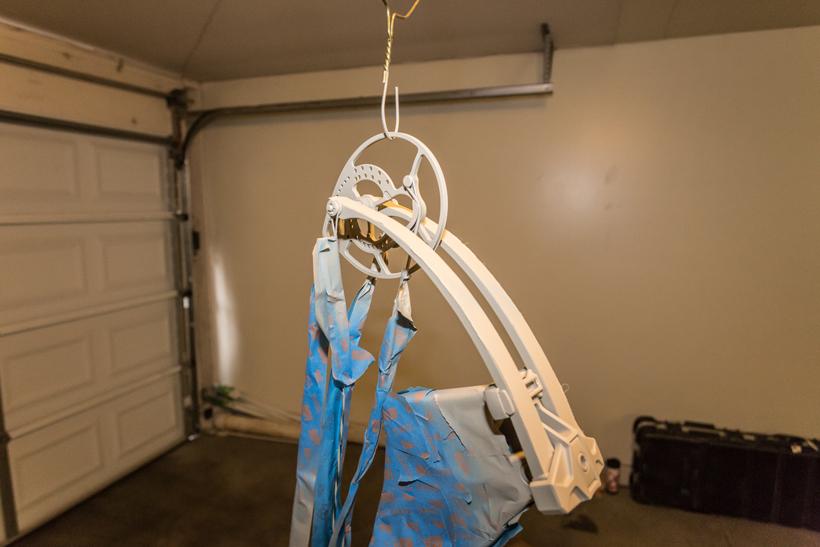
After everything has been taped, it is time to apply a thin coat of spray paint. Either paint one side of your bow at a time, or hang it from a hook in a garage to paint both sides at once.
Keep the spray can at least 12 inches away from the surfaces you are painting to avoid applying too much paint and having it run.
Wait at least an hour and apply a second coat of paint. After applying the second coat, carefully inspect for areas that need touch up.
Let your bow and accessories dry with the tape on for at least a day.
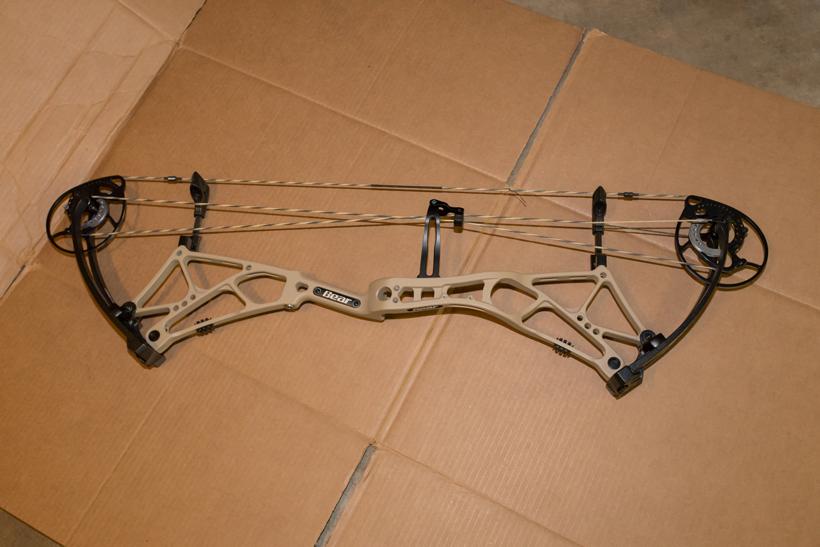
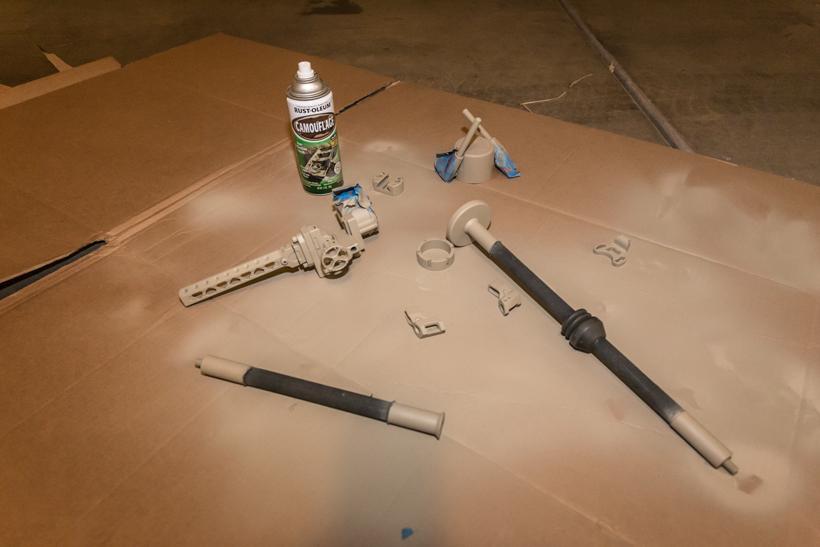
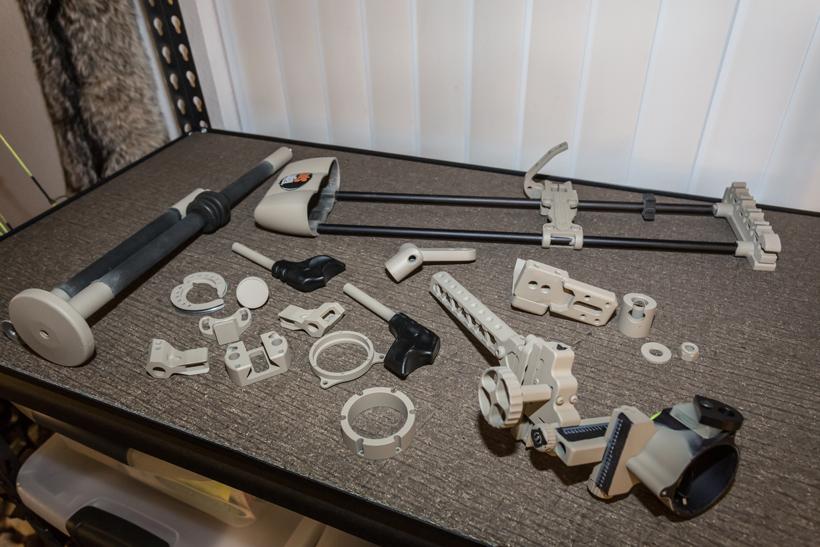
Here is a close-up photo of all the bow accessories after they have been painted. I paid special attention to all areas of the bow in order to keep glare to a minimum.
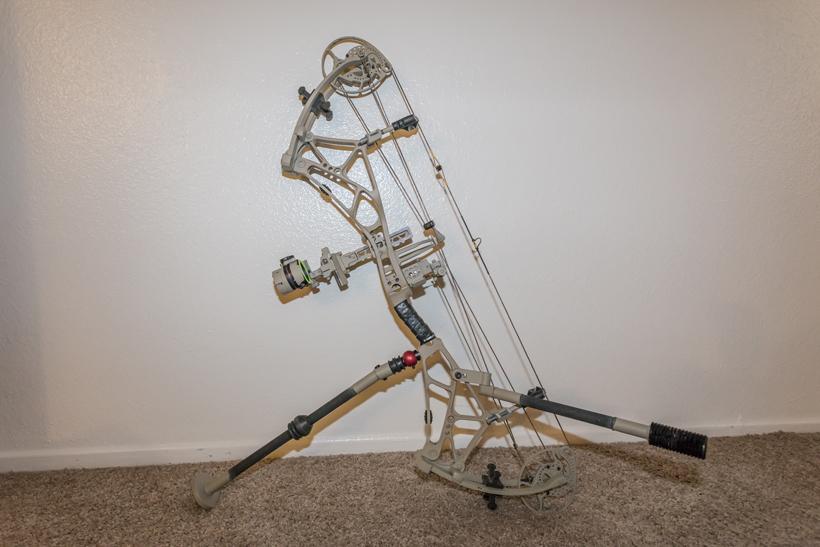
The following day remove the tape and apply a thin coat of flat clear coat. You now have a newly stealthed out bow ready for bowhunting season. Next add all of your accessories and put on your bowstring you will hunt with. From start to end this process should only take you a few hours from start to finish if you don't include dry time.
Is camouflaging all parts of your bow necessary? That is up to you. I do know that it is important to me to gain every advantage I can when pursuing an old mule deer buck. I do not want to leave anything to chance. Removing the glare from your bow is an easy step to increase your hunting odds. If you want to go even further and add small patterns to your bow then you should check out this article on camouflaging your rifle. The same steps can be applied for creating a pattern on your bow.