Video composition tricks to create a professional product


Video composition is an important element in video production. In order to shoot a great video, it is essential to understand the basics behind composition and the many segments that are included. While some follow the rule of thirds as a basic guideline for good video work, there are a lot of other things to consider when using a video camera, like the pan, tilt, zoom, slide, boom and depth of field. Here’s some other things to consider when you’re filming in the field.
Unless you have taken a photography class, you might not be familiar with the rule of thirds, this is a simple way to help you take balanced and interesting photos or video. The rule of thirds is what photographers use when taking photos and the same concept can be used when shooting video. By looking through the viewfinder, you should imagine dividing the area into nine equal parts by two equally spaced vertical lines and two equally spaced horizontal lines like an imaginary Tic Tac Toe game etched across the viewfinder. Some new videographers usually put their subject in the middle of the viewfinder, and while there is technically nothing wrong with this setup, the end result won’t typically come out as well as you had hoped. By using the rule of thirds, you add interest and dimension to the final product.
For example, if your subject is facing to the right, you want to make sure that the subject appears in the left third of the viewfinder to allow for more “nose room” to the right. “Nose room” and “head room” are two other terms associated with the rule of thirds. “Nose room” means that when positioning your subject, you should allow more room to the side of the nose. If the subject is facing slightly to the right or all the the way to the right, the “nose room,” or empty space in the viewfinder, will be to the right or the way the subject is facing. “Head room” means balancing the amount of space above the head and also making sure to not cut off the top of the head when looking through your viewfinder. Typically, the eyes of your subject should align with the upper third imaginary line in your viewfinder, not the center line.
When framing your subject there are three main shots that are used: wide, medium and close. When I film my videos, I like to take framing one step further and include an extremely wide, or establishing shot as well as a few extremely close shots to keep the video interesting. One way to use these other types of framing is to establish location. For example, I like to show the viewer where my subject is located through the use of the wide, or establishing shot. To do that, my wide shot would show the subject in the room with plenty of the room and surroundings included in the frame. I would transition to a medium frame shot that would focus on the torso, head and shoulders, while my close frame shot would only include shoulders and head. Examples of an extremely close shot could include a subject’s hands, eyes, or mouth while talking. Usually an extremely close shot is used to push a point across to the viewer and emphasize something that is very important or dramatic. The most common of the five different framing shots are the wide and medium shots. These shots make up 70% of the footage used. The close shot makes up 25% of the shots with the extremely wide and extremely close shots consisting of no more than 5% of the total footage.
Depth of field (DOF) is used when you want to put focus on a certain subject or person. The point of focus is on the person talking and everything in the foreground and background is blurred out. This was once something only seen on the big screen, but thanks to the quality of DSLR cameras and low aperture lenses, DOF can now be easily achieved by the amateur film maker. Unfortunately, it is very difficult to do with most inexpensive video cameras. A few years ago, I discovered a way to achieve a decent DOF with most video cameras simply by backing away from my subject and zooming my camera in tight on the point of focus. This easy trick blurred out the foreground and background and now, I use this technique frequently on my close-up shots to create an amazing cinematic shot.
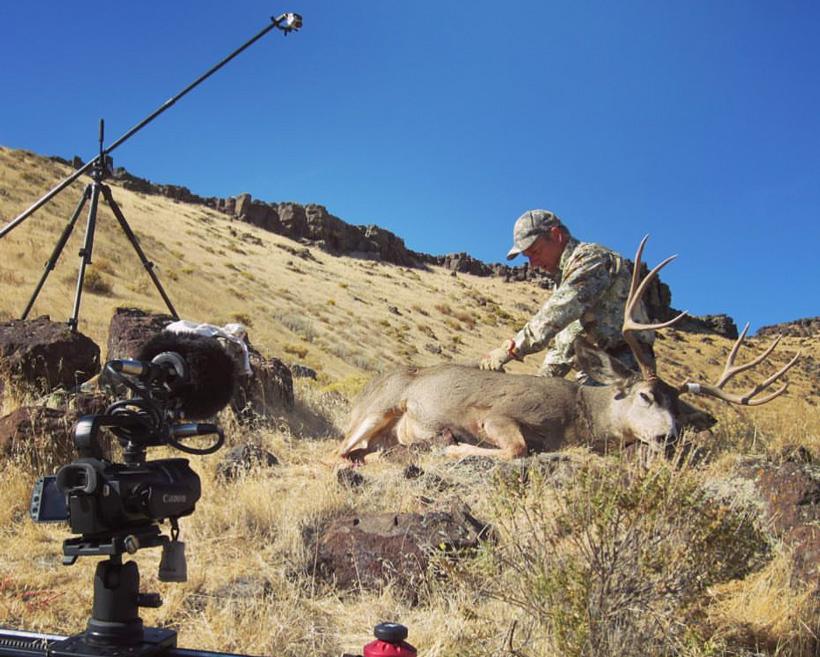
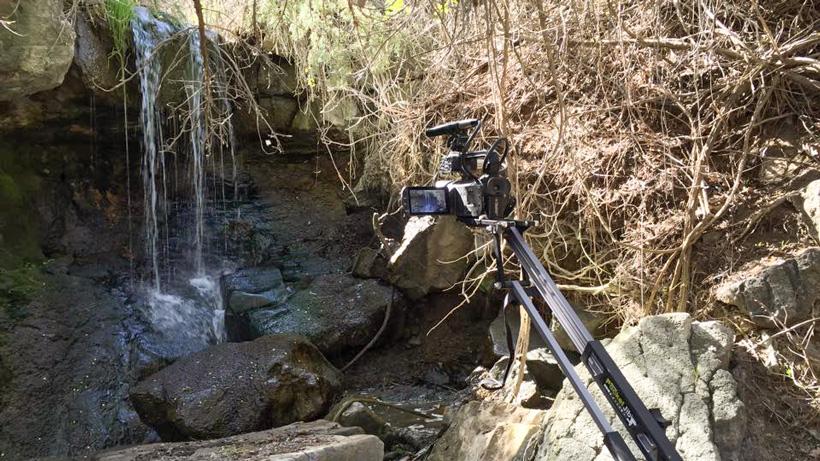
Camera movement is an essential part of the composition discussion. Some of the most popular terms when discussing camera movement include pan, tilt, zoom, slide, boom and glide. The pan and tilt movements are all completed with the tripod head. The pan is the back and forth movement from left to right and right to left. The tilt is the camera movement up and down.
One of my favorite sayings is that three lags are better than two, meaning a tripod makes a much better shot than a person holding a camera. Pans and tilts should only be used when following a subject or subject matter. Zooms are an in-camera move and are the biggest mistake most beginners make when filming. Zooming in and out too much can end up ruining a great shot. This happens frequently: a cameraman zooming in tight on a deer’s rack, and then out to show the surroundings and then back in and then back out. Not only is this distracting, but the operator is shaking the camera as he zooms, not allowing the viewer to enjoy what he or she is filming. Instead of using zooms, consider shooting a couple extremely wide shots, a few medium shots, and one or two close shots. You can edit them together using basic video editing software and it will capture the same effect as the zooms in a much smoother way. Using slides and booms, can be more difficult and more cumbersome for just one camera guy, but can also add to your final production value. Slides and booms use heavier gear like sliders and cranes and most of these shots reveal something and can be very cinematic. While camera movement is important, framing cannot be forgotten and should be considered during every shot.
Incorporating and understanding these rules, techniques and guidelines are just that “rules” and rules can be broken. There are filmmakers who ignore these concepts and do very well. However awkward looking, these folks are making popular films. Once you master the framing and the rule of thirds, your production value will increase and who doesn’t want to improve on what they do? I hope that you try using a few of these ideas during your next project. You should be pleased with how easy they are to implement and how great your final footage will turn out.