


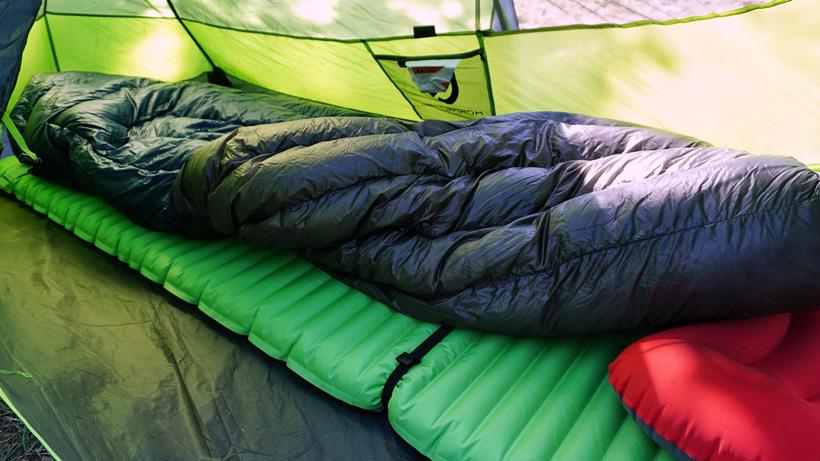
Backpacking quilt by Enlightened Equipment
Advantages | LightweightExtremely compressibleWarmer than synthetic |
|---|---|
Disadvantages | Pretty useless when wetMore expensiveRequires more maintenance for longevity |
Advantages | Disadvantages |
|---|---|
LightweightExtremely compressibleWarmer than synthetic | Pretty useless when wetMore expensiveRequires more maintenance for longevity |
Advantages | Better in wet conditionsMore affordableEasier to maintain |
|---|---|
Disadvantages | Generally weighs moreNot as warmNot as compressible |
Advantages | Disadvantages |
|---|---|
Better in wet conditionsMore affordableEasier to maintain | Generally weighs moreNot as warmNot as compressible |

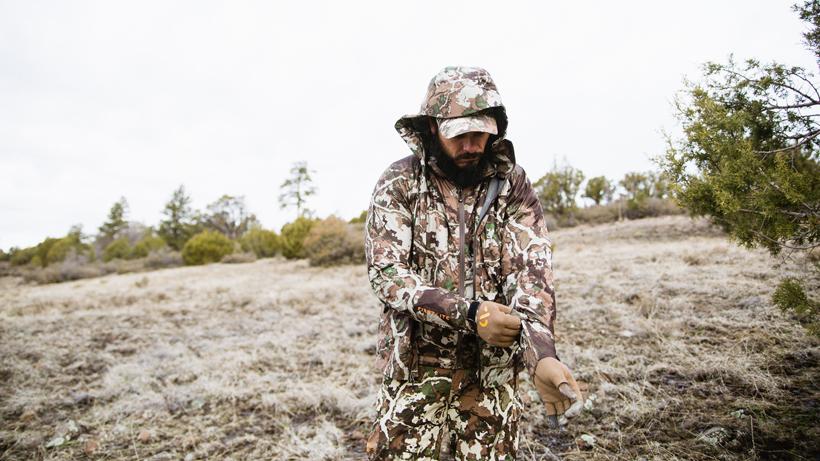
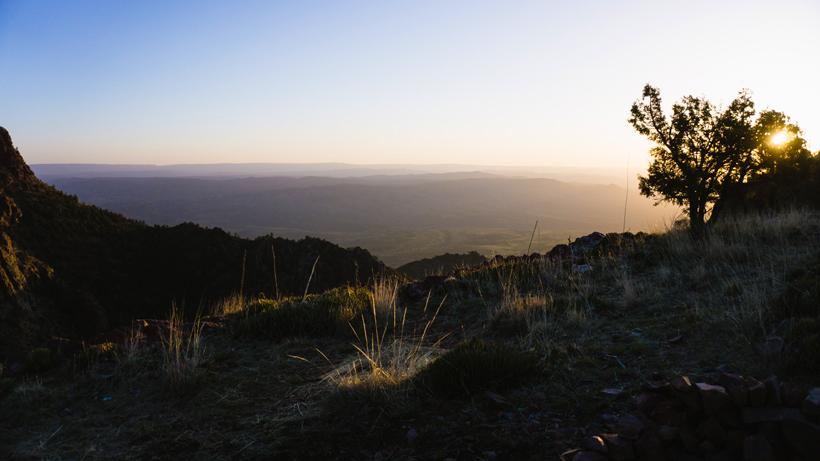
Over the last few years, backpack hunting has steadily increased in popularity with more hunters trying to live out of their packs and hunt the backcountry. Perhaps, it’s because of the appeal of having a truly wild hunt. For me, it’s because backpack hunting offers the ultimate adventure. It’s just you, your backpack and your weapon in a stretch of wilderness as you fend for yourself and, hopefully, fill your tag. Intimidation is what initially kept me from diving into this type of adventure.
After a while, though, I felt the pull of the backcountry and wanted to get my feet wet. Through the years that followed, acquiring gear and learning a new way of hunting, I realized something: The very thing that made me stay away from backpack hunting in my early days was the same thing now that captures me and leaves me wanting more. Hard work, grit, and dedication are the rewards that come with this style of hunting -- and they are the best kind of rewards.
Because of the growing popularity of this type of hunting, I thought it would be useful to unpack the complications and discuss how easy it is to get started in backpack hunting. Sometimes we over complicate new things because we lack knowledge on the subject. I know I did when I first started backpack hunting. Trying to "crack the code" on how things are done was something that consumed me. Not anymore.
So, your interest in backpack hunting is growing and you've decided that you want to give it a try. The first thing to consider is what kind of gear you’ll need to get started. This is where all of the options can become overwhelming, especially if you are used to truck camping. Keep in mind that backpacking should be viewed as a separate entity when you compare the two.
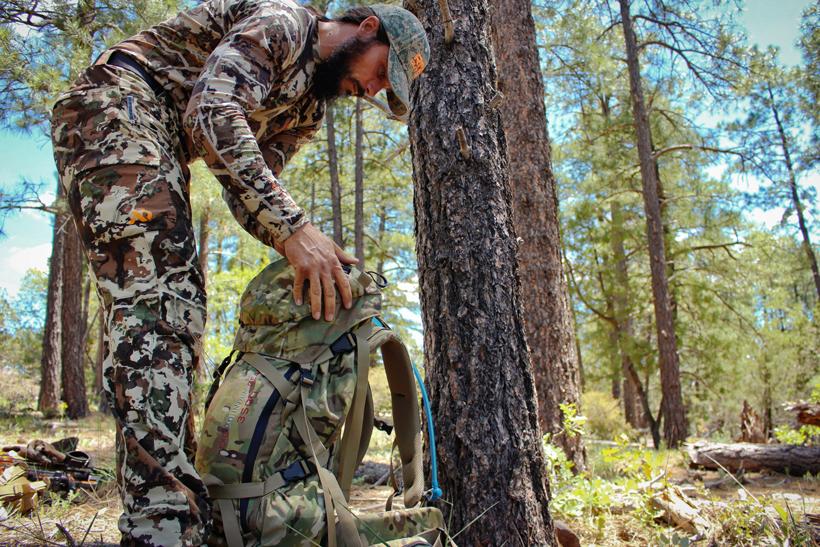
Your backpack is obviously the big kahuna of your backcountry system. It's what is going to haul everything you need and, with any luck, bring out a hefty load of meat for your effort. Because of that, it's imperative that you get a backpack that is both capable of hauling heavy loads and, most importantly, fits you. There are plenty of backpack fitting videos out there that you can check out. If you are still unsure, consider actually getting fitted at a local backpacking shop. If you don't have one in reach, than reach out to people on forums with expertise in this area. Also, many of the companies that manufacture the backpacks are willing to help you out.
When it comes to how big of a backpack to get, a good rule of thumb is 1,000 cubic inches per day. That doesn't mean that you need a different backpack for a two-day trip versus a three-day trip. Select a size that will reflect the duration for most of your trips. If you tend to go out for three to five-day hunts, than a pack that carries about 5,000 cubic inches should work well. Remember that this is just a rule of thumb. There are plenty of experienced backpack hunters who can get seven days out of a 5,000 to 6,000 cubic inch pack. Everyone's setup is different.
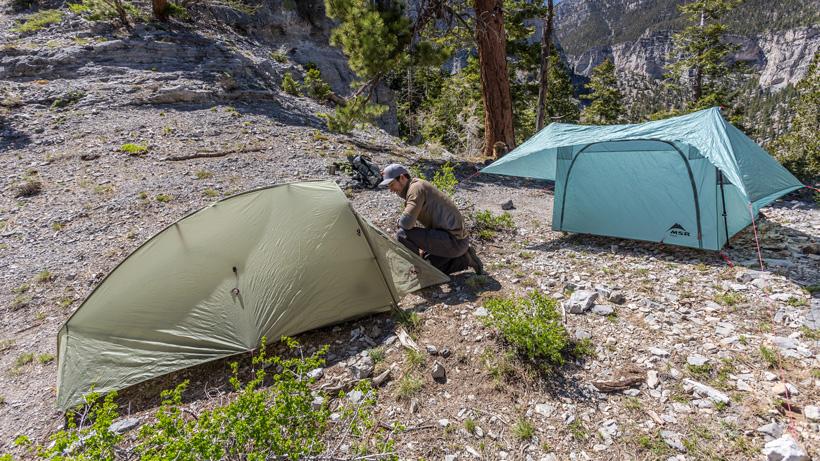
The tent or shelter topic is largely based upon personal preference. I myself prefer the enclosed space of a lightweight backpacking tent. That might be because I live in Arizona among rattlesnakes, scorpions and chiggers (they are murder). I don't really consider a floorless option for that reason. However, if you live somewhere where these things aren't an issue or are just a lot braver than I am, a floorless shelter could be a great option. Another route is running a bivy sack. Bivys are a lightweight, simple option for those who are only looking for a place to sleep and that's it. The thing that I don’t like about a bivy is if it starts raining, you're stuck in your bivy until it stops. That is, unless you want your sleeping bag to get wet.
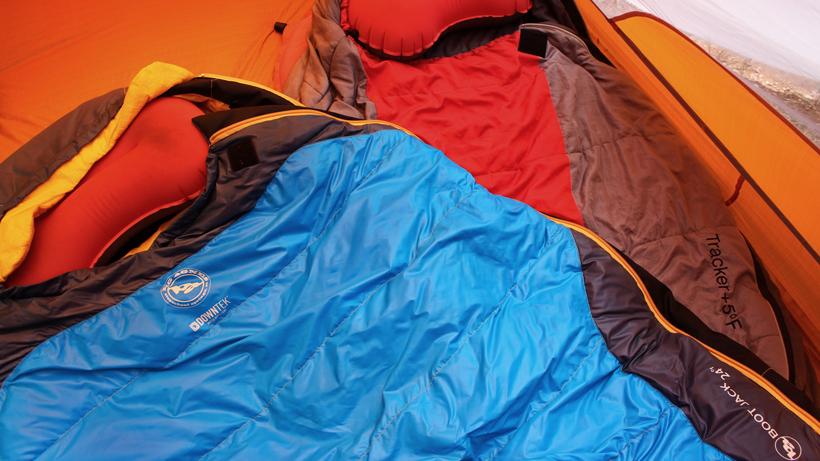
Sleeping bags come in all different sizes and weights. The most common style of bag is the mummy bag. These do a great job of insulating your body heat, but can be a little constraining. There are also more rectangular shaped bags, which are going to be a lot more comfortable, but might also weigh more due to the additional fabric and take up more space in your pack.
Another option is a quilt, which is literally what it sounds like. This particular quilt is designed with a footbox like a traditional mummy style sleeping bag. This option cuts down weight by not having a bottom portion to the bag. The reason behind this is when we lay on our sleeping bags, we are actually compressing the insulation; therefore, defeating the purpose of having it in the first place. Rather, the insulation underneath you should come from your sleeping pad (which is up next).
Along with the decision of bag or quilt, you also have the option of down or synthetic. Both have their advantages and disadvantages. Here are a few:
We are in the golden age of comfort for sleeping in the backcountry. There are a plethora of options for a great nights sleep on a backcountry hunt; some people like rollout pads and others prefer inflatable. Some of the favorites by backcountry hunters are Therm-A-Rest NeoAir Xlite and the Kymit Inertia models. Like everything else, there are lightweight options, heavier and possibly more comfortable options, and ones for early or late season hunting.
More insights on sleep systems for the backcountry can be found here: Getting comfortable sleeping in the backcountry
You can never go without these items.
Food can be tricky when preparing for a backpack hunt. Before I started backpacking, I didn’t really pay close attention to what I ate throughout the day; however, having an adequate amount of calories is paramount on backpack hunts. On these trips, you will be burning an unprecedented number of calories as you hike through various terrain with everything on your back. If you don't have the fuel to keep going, then you simply won't go.
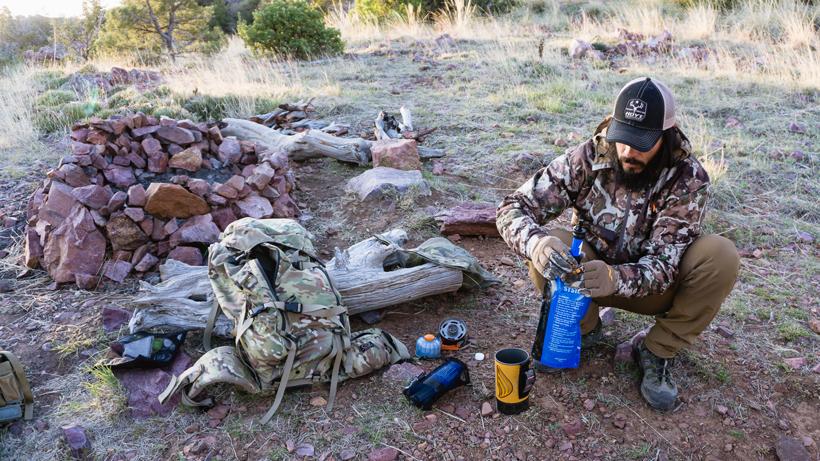
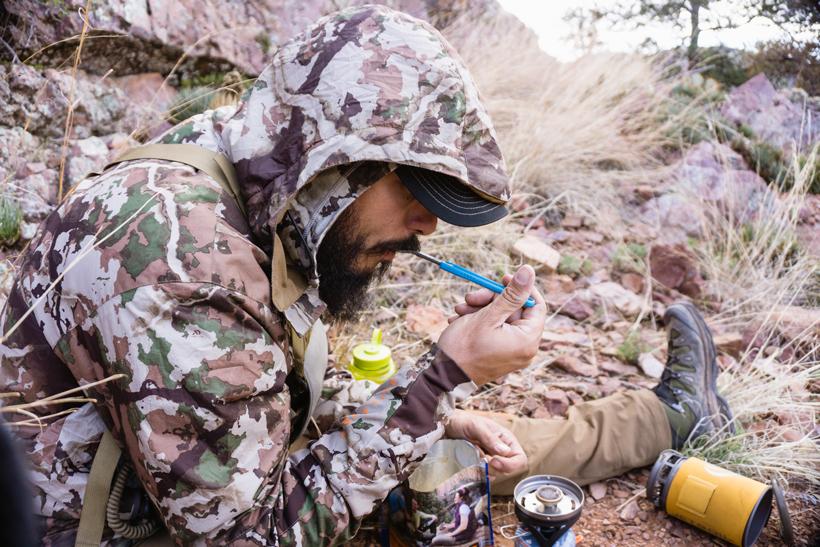
With that in mind, keep it simple. What foods do you like and what don't you like? Popular backpacking food choices include freeze-dried meals, oatmeal and protein bars. They are popular because they are easy to prepare, which is a big convenience in the backcountry. Freeze-dried foods and oatmeal require the ability to boil water. You can do that by making a fire or using a convenient lightweight backpacking stove (which is the recommended method). Ultimately, what food you bring is up to you. Try to find the most nutrient dense, lightweight food that you can. I aim for 2,500 to 3,000 calories per day. You can also check out this article on Nutrition for Hunters.
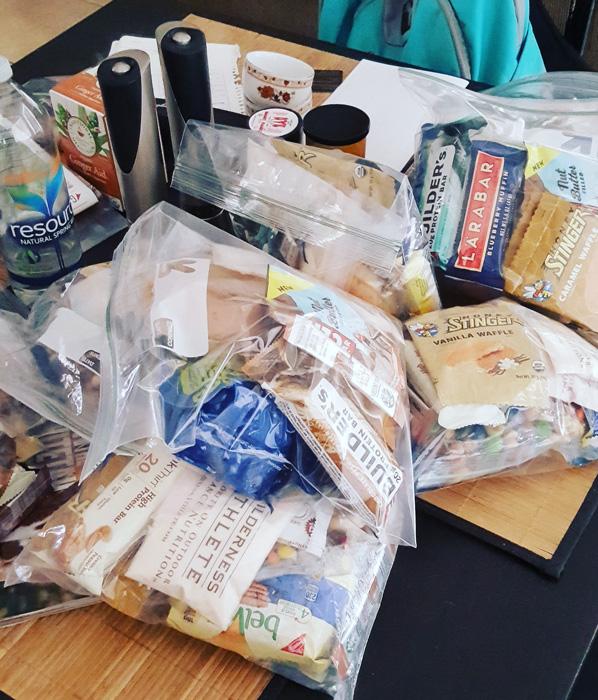
A good way to figure out how much food to take on a backpack hunt is by keeping a log of what you eat (and how much) during day trips that you take into the mountains. Were you hungry the whole time? Were you satisfied? This is what I did in the beginning to get an idea about how much food I should actually pack for a full day. I usually pack each days worth of food into a gallon Ziploc bag. Here is an example of one days worth of food for me.
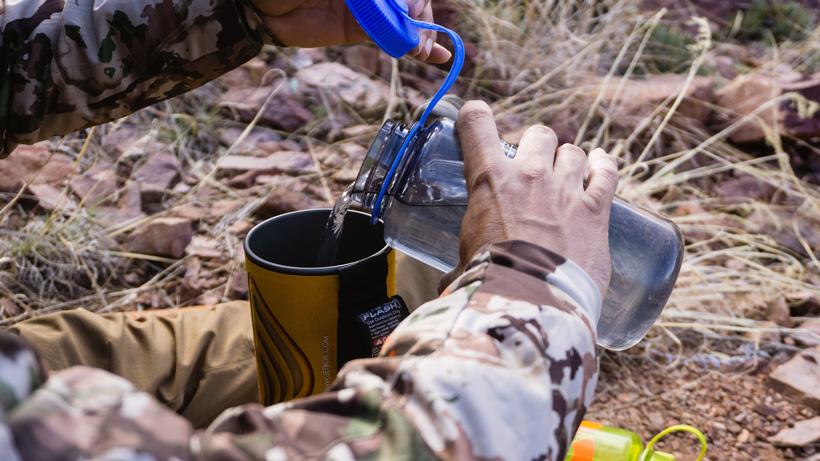
I select where to camp based upon where water is in a particular area. Sometimes water is not readily available in more arid environments. If that is the case, I will hike in and stash some water before a hunt. If you can’t do that, there are all sorts of different filters out there to choose from and they all do a good job. Styles include pump filters, squeeze filters and gravity filters. There is also the tried and true method of water purification tablets or drops, which is a very lightweight and minimalist approach, but an effective one nonetheless. I have these with me no matter what style of filter I am using because they are a great backup plan. If all else fails you can always boil your water. I've done this in a pinch, but, in all reality, I don't want to sit there and boil every bit of water that I get before I drink it. You are either going to be blowing through too much fuel that you could use for cooking or wasting time starting fires when you could be out hunting.
Having the proper layering system will lend heavily to your comfort level and really could save your life. The more comfortable you are, the longer you will stay out there and the more efficient you will be. The distraction of being too cold, wet or hot for that matter is not something that you want to stress about. You want to focus at the task at hand and have a good hunt.
A layering system is a collection of different pieces of clothing that all work together to keep you a happy hunter. Rain, shine, hot or cold—you’re prepared no matter what and ready for action. Maybe you've heard the term "layering system" thrown around from time to time, but don't quite know what that is or how to go about building your own. You might have even dismissed the term because it sounds like mumbo jumbo that clothing manufactures use in their marketing. Whether it is or not is completely irrelevant because it is sound logic that works, which is exactly what you need in the backcountry.
Top
You are going to want a lightweight base layer (used to wick moisture from your skin), midweight layer (to add warmth and continue the moisture wicking), a soft shell insulation piece (insulates your body heat while drying out your lightweight and midweight layers) and rain gear to keep you dry. The decision between synthetic or merino wool is a personal choice. Merino wool will perform better in arid environments; synthetic will do better in moist ones.
Bottom
For pants, go with something that is going to aid in mobility, is abrasion resistant, and is obviously comfortable. Depending on the temperature, you might want to add a merino or synthetic base layer underneath your pants. Popular choices include a nylon blend (stretch) pant or a merino wool pant.
Here is an example of what I would bring with me on an early season week long archery elk hunt:
(All of these products are made from First Lite.)
Your layering system is completely customizable to your location and your preferences, but that is a 30,000 foot view of a layering system. It is important to note that you only need one layering system for a hunt. You do not need to bring three pairs of pants and eight pairs of socks. You will be fine with something similar to what I've outlined above. I don't care what clothing company you decide to buy your stuff from, just do your research and build your system.
I truly believe that the number one reason why a lot of people don't actually go on a backpack hunt is fear of pulling the trigger and making it happen. It's the mental game. Hiking off into the wilderness with nothing but what you have on your back can be intimidating and I certainly fell into that category. Thinking about everything as a whole and taking on a new adventure often left me sleeping at my truck. After making it happen and spending my first night on a backpack hunt, though, it all changed for me. The view that I had when I opened up my tent was nothing short of breathtaking and knowing that there were rutting Coues deer to be seen only a hop, skip and a jump away from my tent made it all the better. My biggest piece of advice beyond gear and food is to realize that backpack hunting is very possible for anyone willing to give it a shot. You are the only one holding yourself back. The complication of this stuff comes from our uncertainties, not from the thing itself. Go for it!
Backpack (obviously)
Sleeping bag or quilt
Food
Water
Clothing
Breakfast: Rolled oats with whey protein and raisins or Belvita breakfast biscuits with Justin's Almond Butter
Snack: Two types of bars (usually Larabar and ProBar)
Lunch: Bagel with peanut butter and honey along with a protein bar
Snack: Trail mix and a bar of some sort
Dinner: Homemade dehydrated bear chili or Mountain House along with Wilderness Athlete Hydrate and Recover drink
Llano (lightweight base layer)
Chama Hoodie (midweight)
Uncompahgre Puffy (insulation)
Corrugate Guide Pant
Red Desert Boxers (two pairs)
Mountain Athlete Triad Socks (two pairs)
Fingerless gloves
Vapor Stormlight Rain Jacket (Might get left in the truck pending a weather report)
Boundary Stormtight Rain Pants (Might get left in truck pending a weather report)